How to Make ADORABLE Snow Globes!

This post contains affiliate links, that means I may make a small commission on items you purchase through my links… but it comes out of Amazon’s pocket - not yours! Baby June and I thank you for supporting our small business.

THESE ARE TIMELESS KEEPSAKES THAT YOUR FAMILIES WILL LOVE TO RECEIVE AS A GIFT!!!

If you’re worried that you have too much to do before Christmas Break, don’t panic.
These are great gifts and you can do them during the month of January or February!
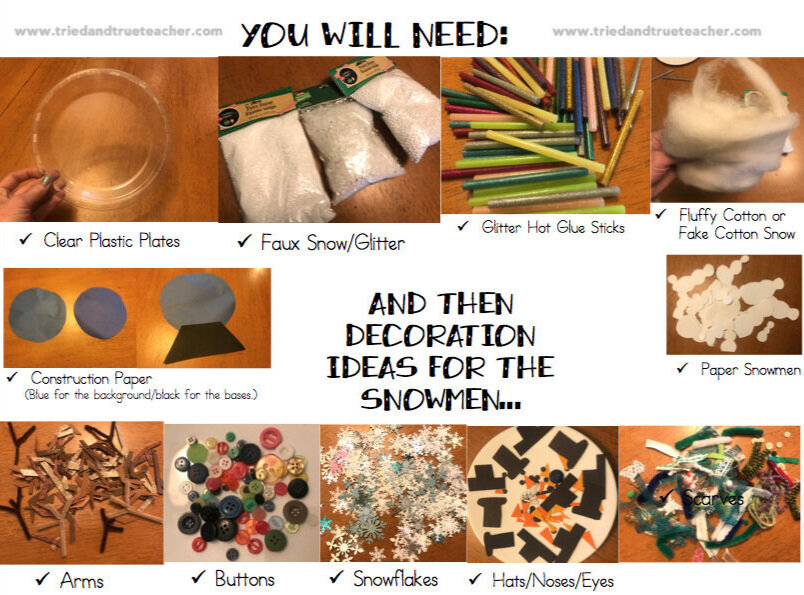
MATERIALS:
Plastic Plates - these are the exact ones I used!
Glitter Hot Glue Sticks (One of my FAVORITE craft finds in the last few years!! THESE ARE SO MUCH FUN!)
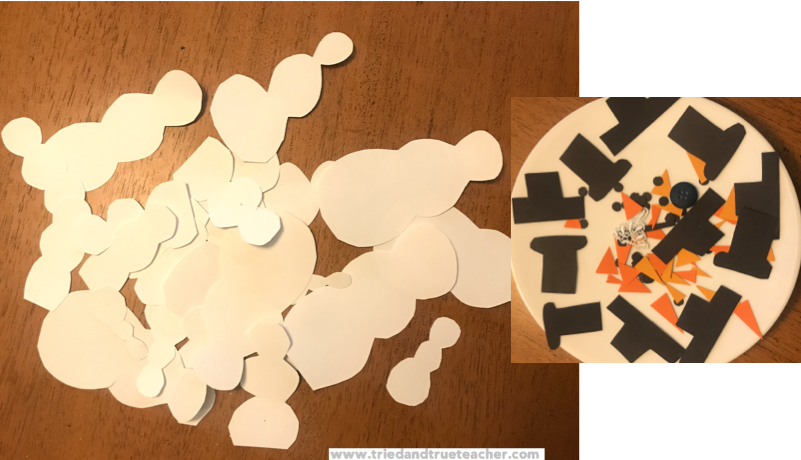
Paper Snowmen - I just cut these out of traditional printer paper
Blue Construction Paper or Cardstock - This pack is pretty. This one is too!
Arms - I just cut them out of brown foam and brown pipe cleaners- Check out this multicultural pack of different shades of brown and tan - perfect for this, and so many other things!
Snowflakes- I use paper punches to create all kinds of different snowflakes.
Hats/Eyes- I cut the hats from black paper and I used the same black paper to hole punch dots for the eyes.
Noses- I cut triangles out of orange paper
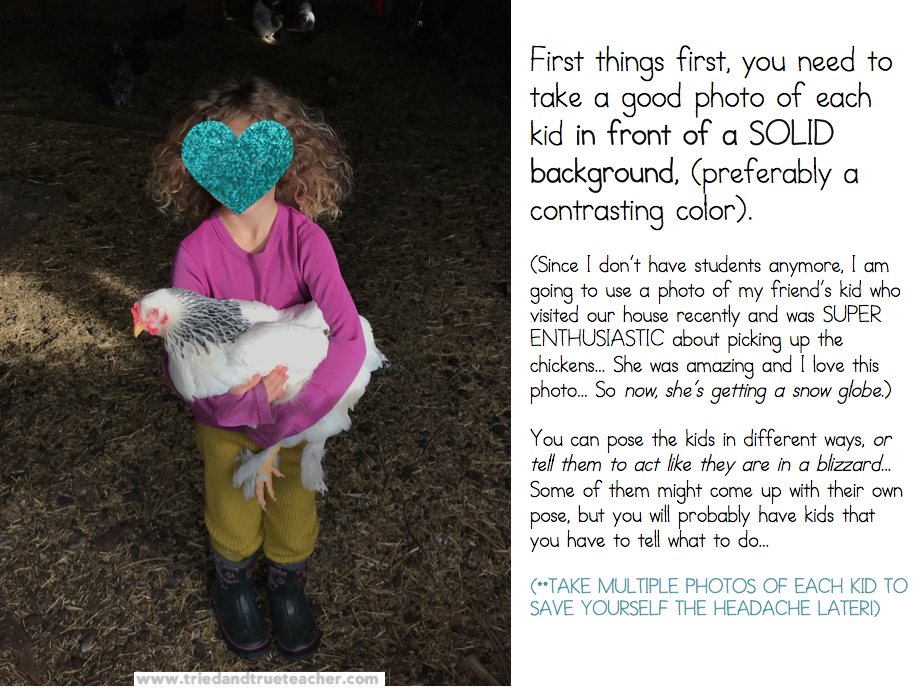
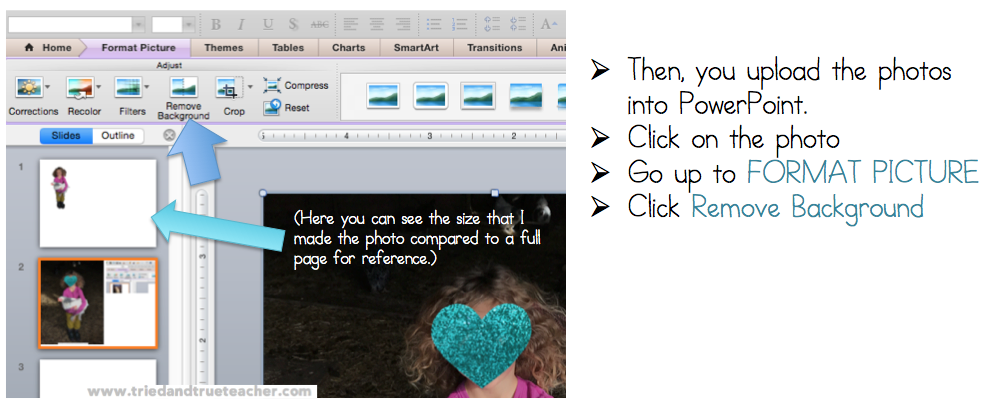
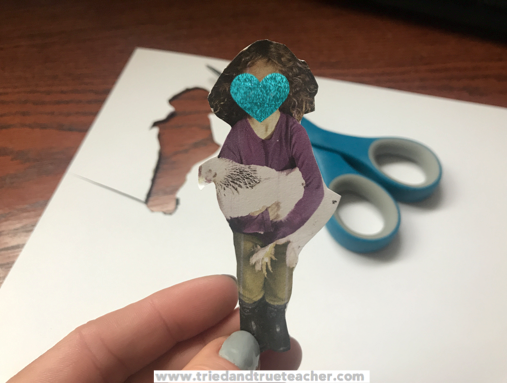
Once you’ve cropped all the photos of the kids, you will have to cut them out.
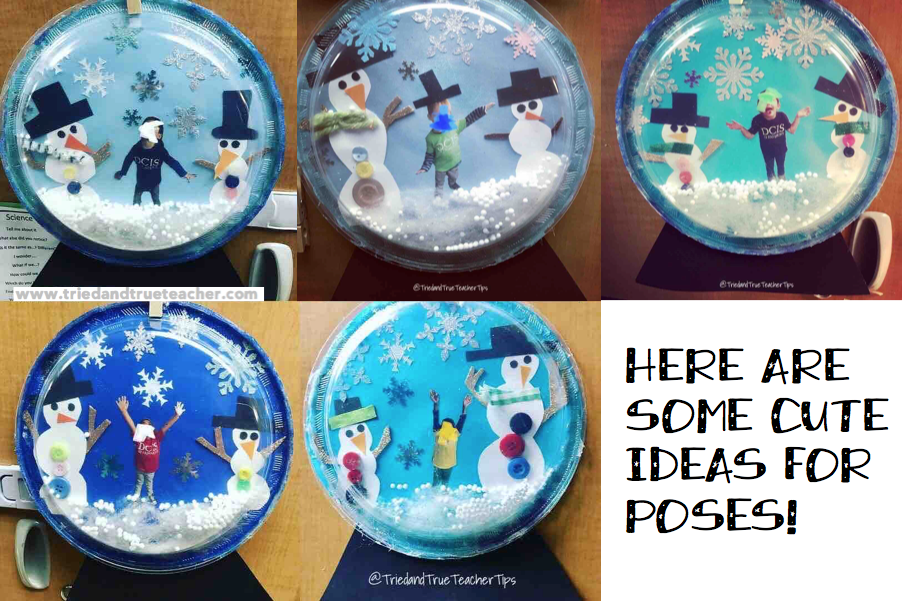
Then you’re going to set up a station with all the accessories your students can pick from to decorate their snow globe.
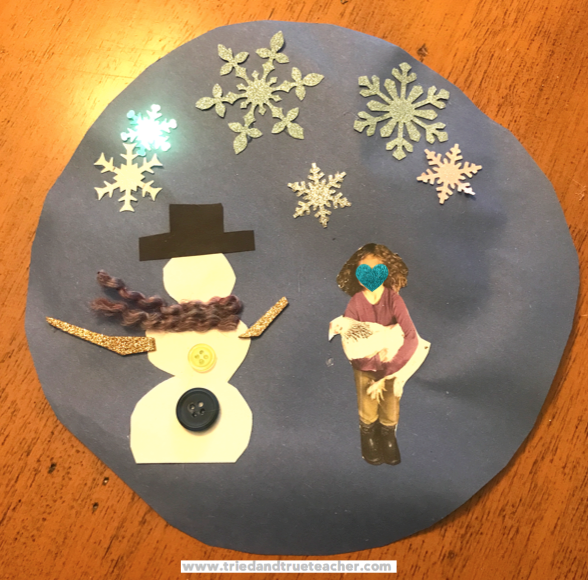
I let them pick snowmen with accessories and snowflakes.
They can choose their snowmen and their hats, noses and eyes…
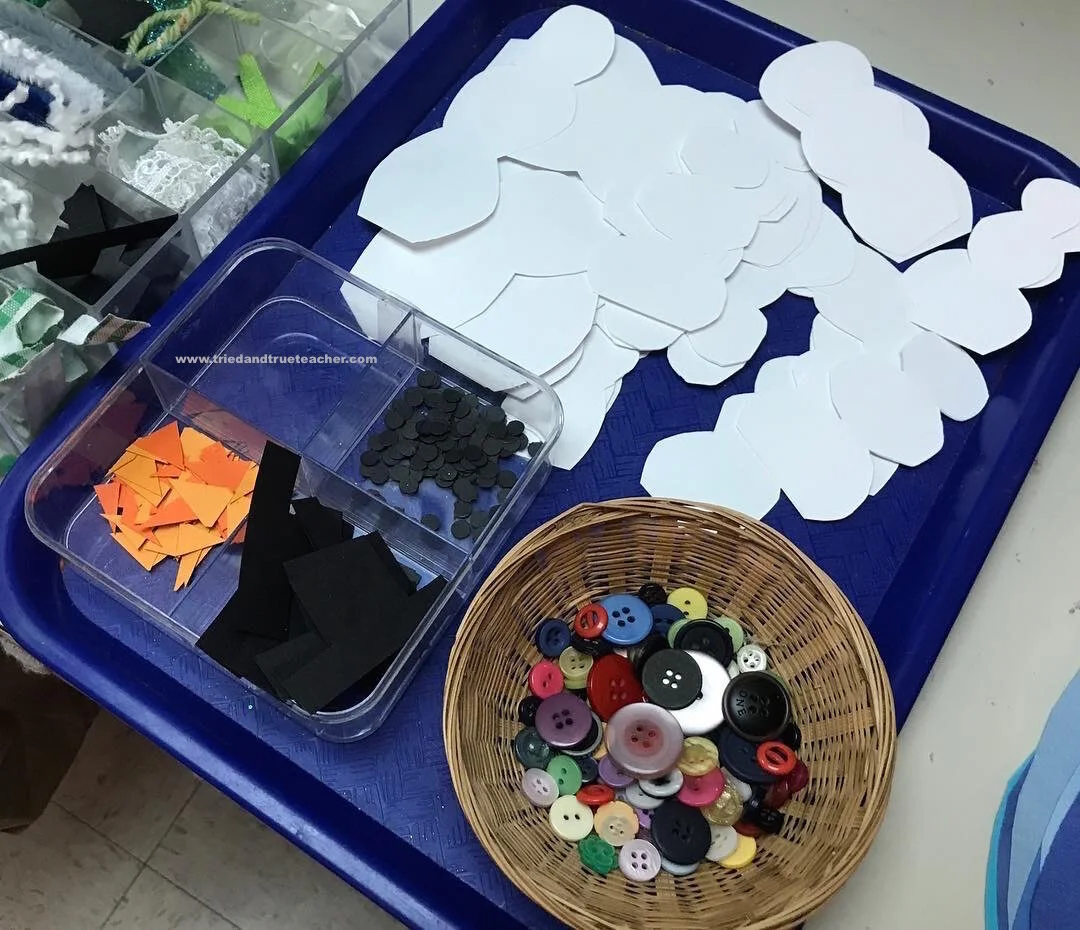

They can choose their arms, snowflakes and other accessories!

Arms!


Scarves and fabric accessories!
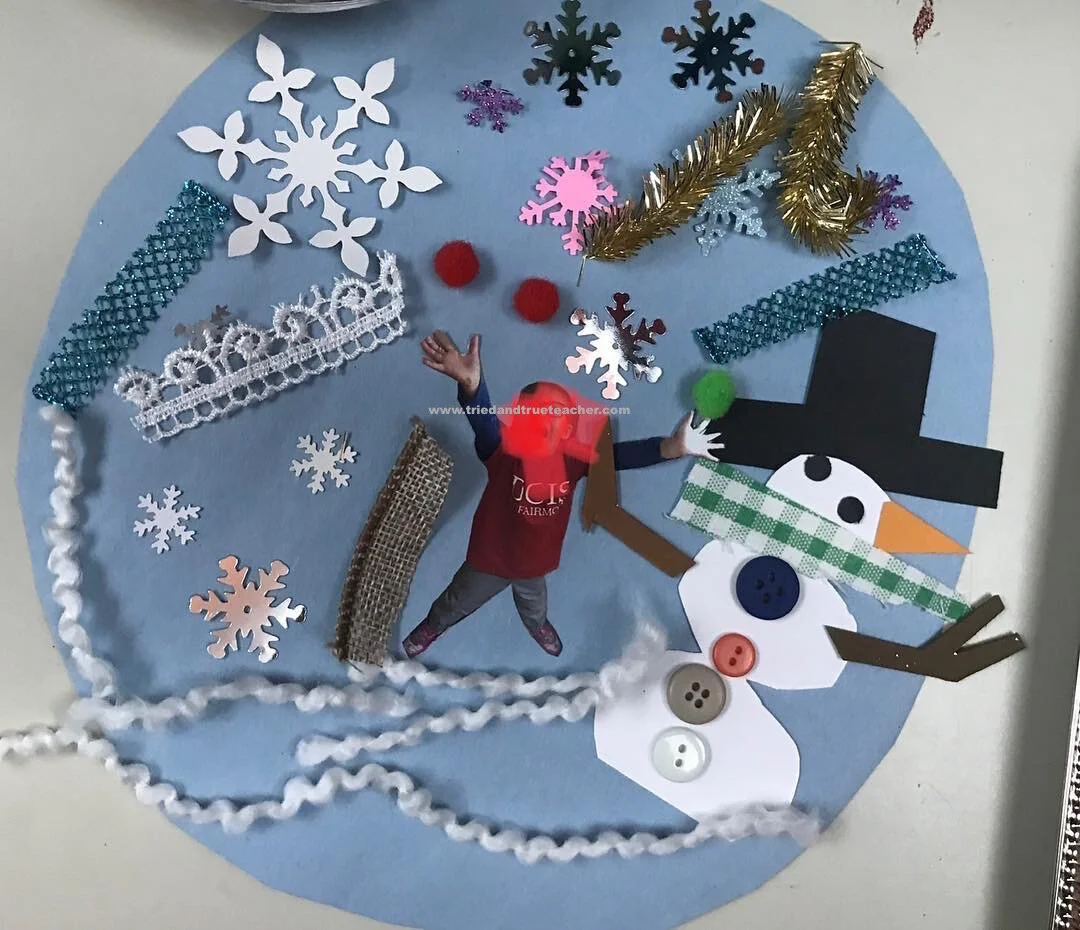

I call one or two kids over at a time and let them lay out their items the way they want. Then, I set them aside and I hot glue it all down later.
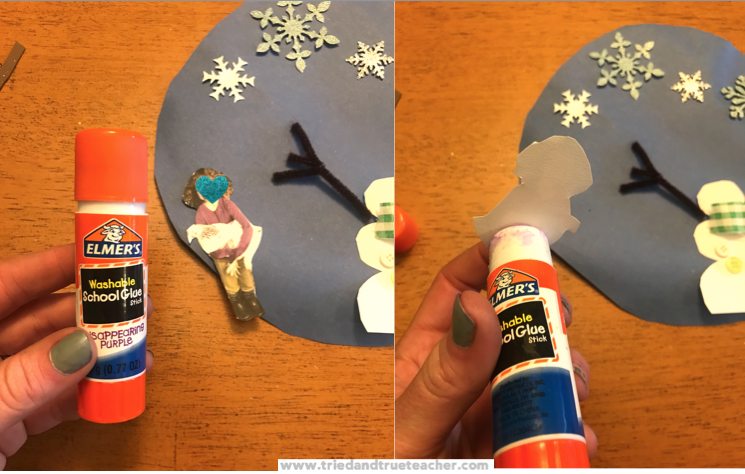
(BUT YOU DON’T HOT GLUE DOWN THE CHILD’S PHOTO!)
You will attach their photos with a glue stick to prevent wrinkles and bumps!
Add any last details you’d like before adding the snow…
I attach everything but the photo with hot glue.

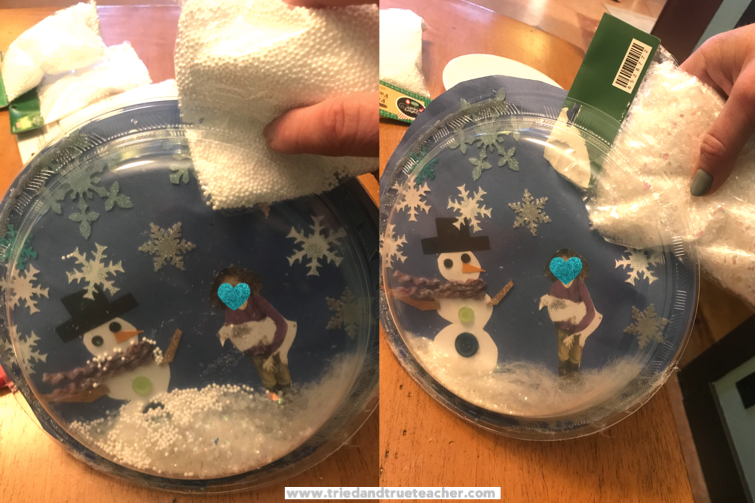
Once you’ve glued down all the accessories, it’s time to add some snow.
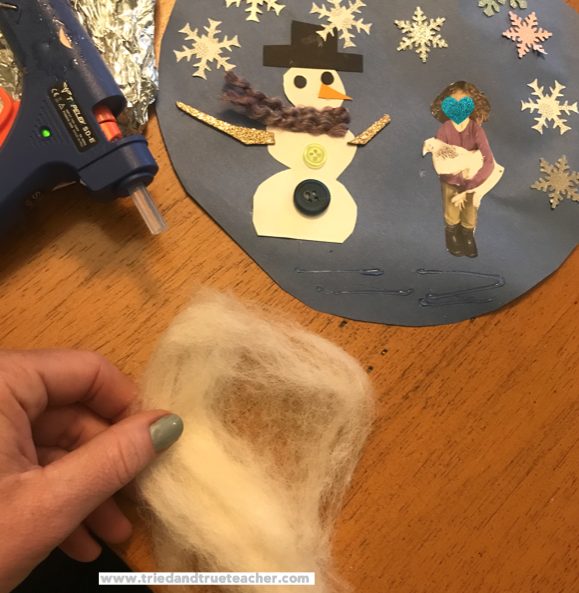
I put a little hot glue down and then gently press some of the fluffy cotton snow onto it. This will be the base layer of snow.
Place the clear plate on top to decide if you need more or if the level looks good.
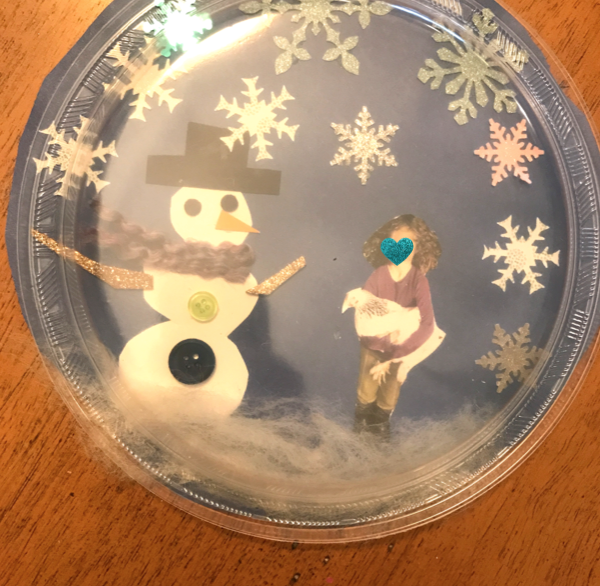
I usually like to have it cover their feet and the bottom of the snowmen.
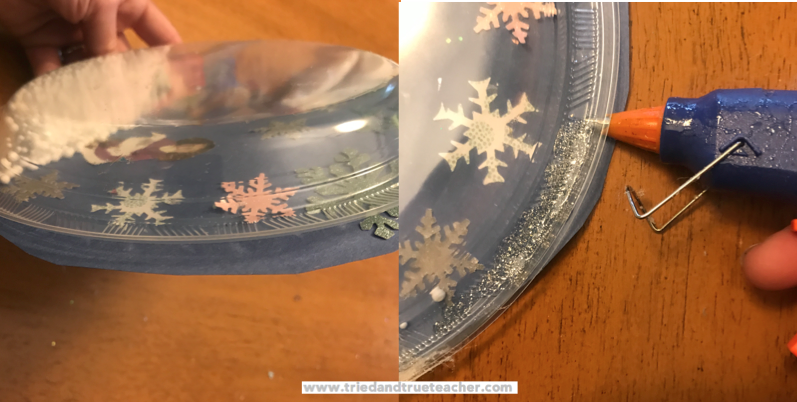
Once the fluffy snow looks good, it’s time for the GLITTER HOT GLUE STICKS!
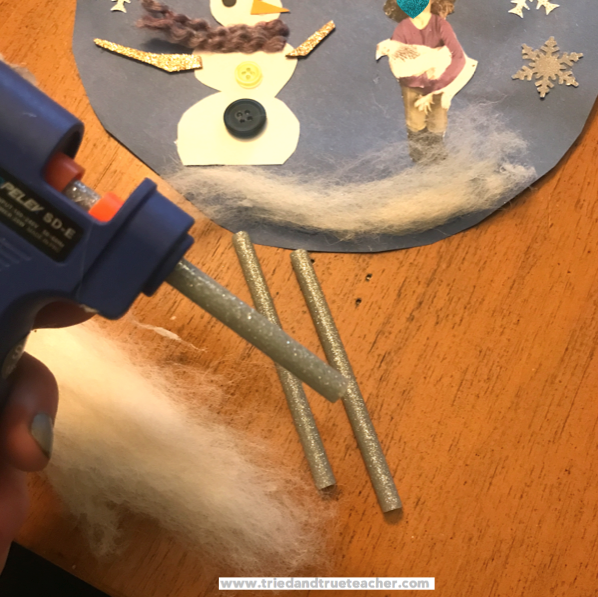
I chose silver for this one, but I let the kids pick which color they want!
You slowly start to glue the plate to the paper to seal up the edge…
BUT YOU STOP before it’s totally sealed!
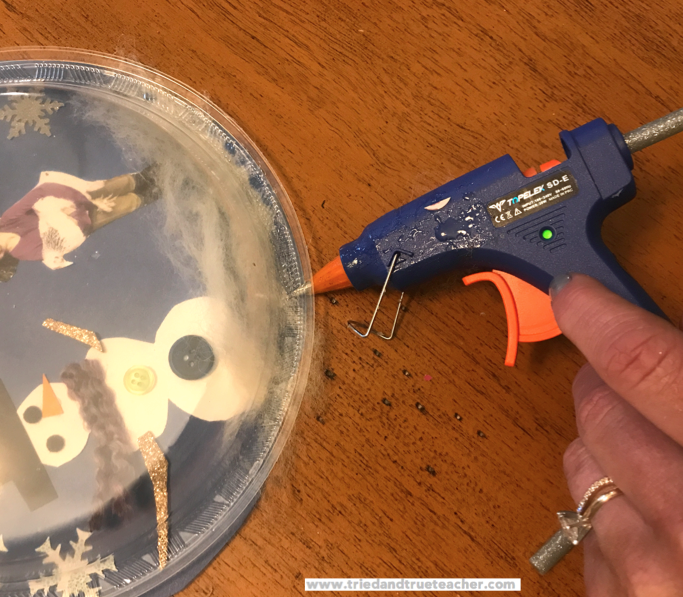
Leave a section open so you can pour in all the snow!
Just snip the corner of the faux snow packaging!
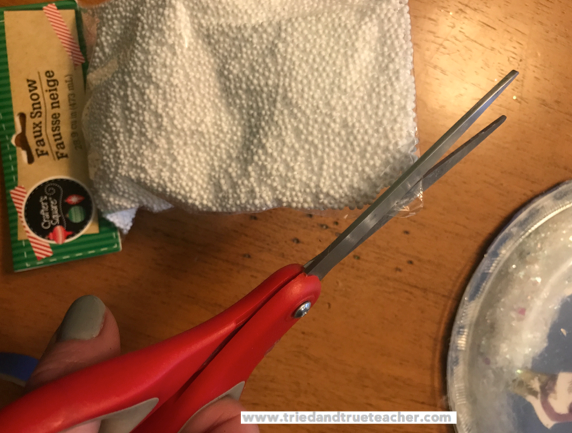
Then carefully pour it in!
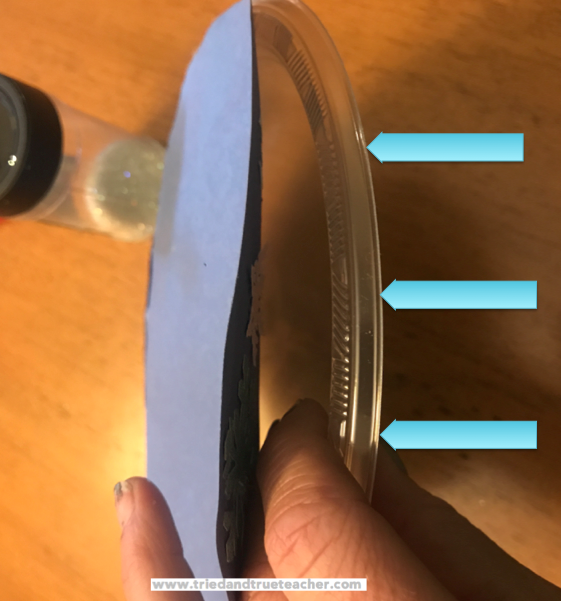
Then, go ahead and finish sealing it up!
And attach the black construction paper as the base (I used cardstock because it’s stronger).
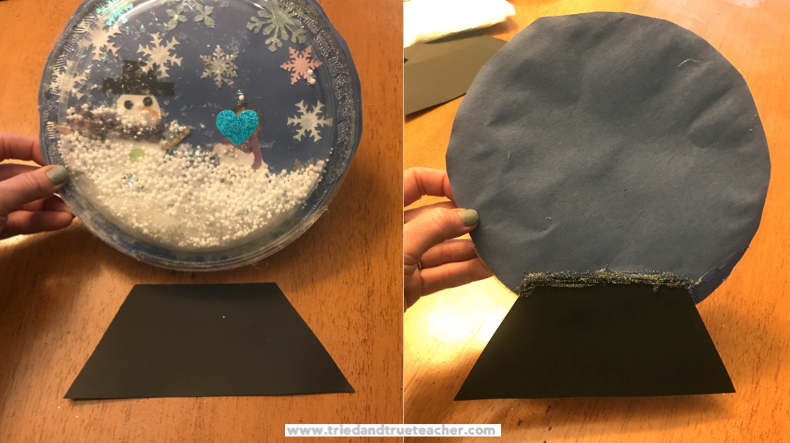
You can trim any extra paper from the edges.
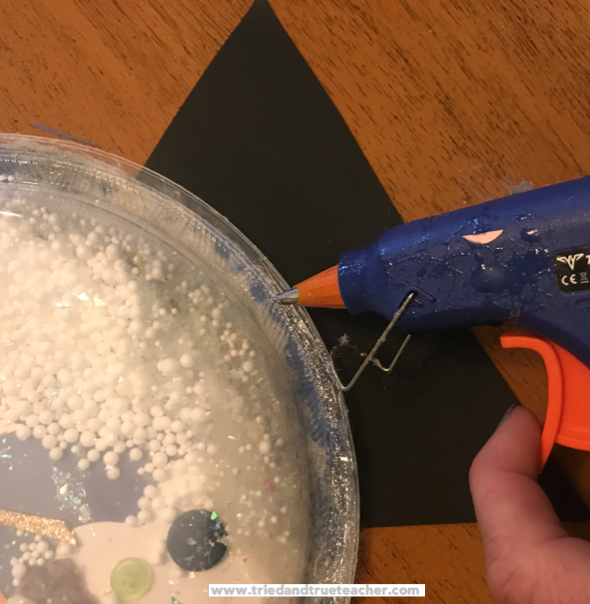
I like to fill in any gaps with more hot glue, it makes the whole thing look better and last longer.

I also like to go over the front side of the plate with more hot glitter glue to make it look nice and sparkly!

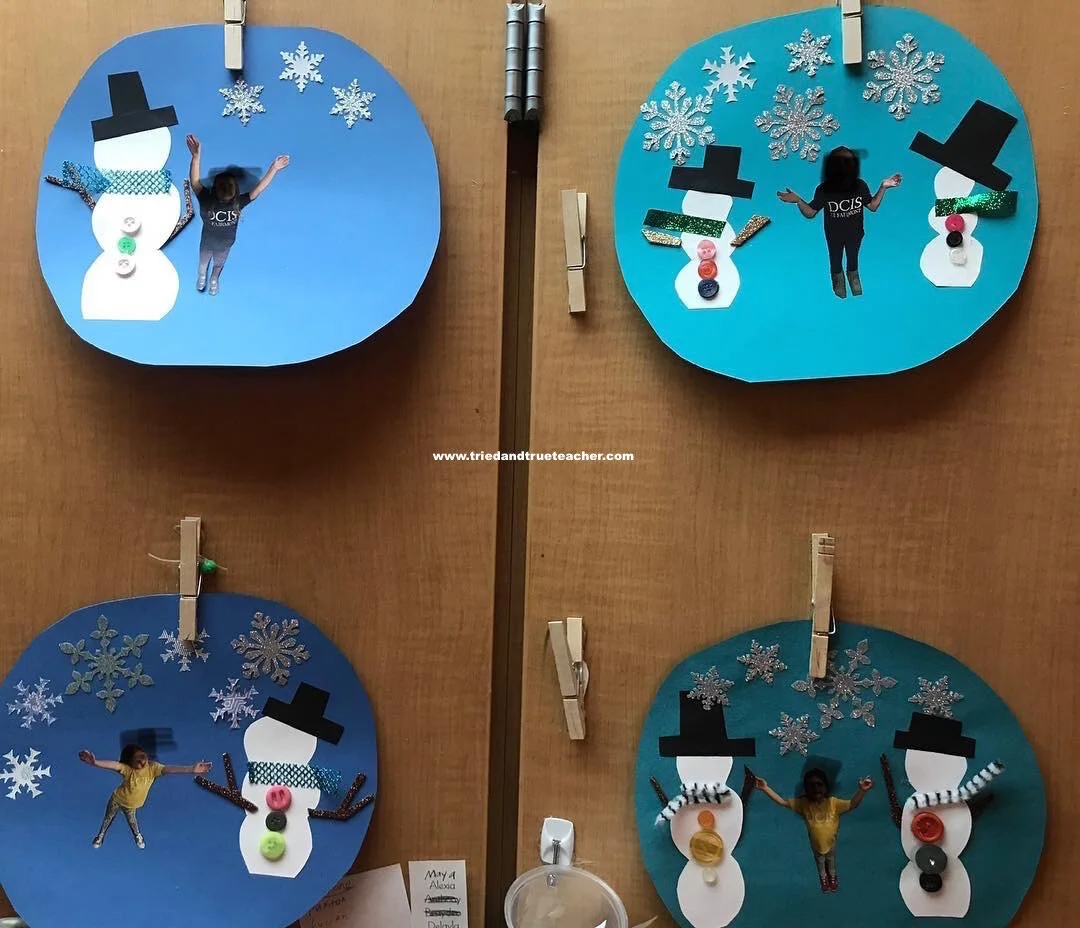
And there you have it folks!!!

To see the Snow Globe in action… watch the video below!